Selecting drill bits and grouting parameters for self-drilling anchor bolts 1 in karst tunnels nearly broke one of our early projects. The rock kept changing, grout kept vanishing, and anchors kept failing pull-out tests. On [our production line](https://sdarockbolt.com/?p=2936), that experience forced us to rethink how bit design, grout mix, and pressure control must work as one system, not three separate choices.
Select drill bits and grouting parameters for self-drilling anchor bolts in karst tunnels by matching the bit to the dominant ground condition, sizing the diameter for coupler clearance and grout annulus, mixing cement grout at a 0.4–0.5 water-cement ratio, and adjusting grouting pressure between 0.5–2 MPa based on void and water conditions.
That is the short answer. But karst geology punishes shortcuts. Below, I break each decision into practical steps you can apply in the field, based on what we have seen work across tunnel projects worldwide.
How do I choose the right drill bit type for karst tunnel geology with voids and fractures?
A contractor in Vietnam once ordered a full container of button bits from us for a limestone tunnel. Halfway through, they hit clay-filled voids, and drilling efficiency collapsed overnight.
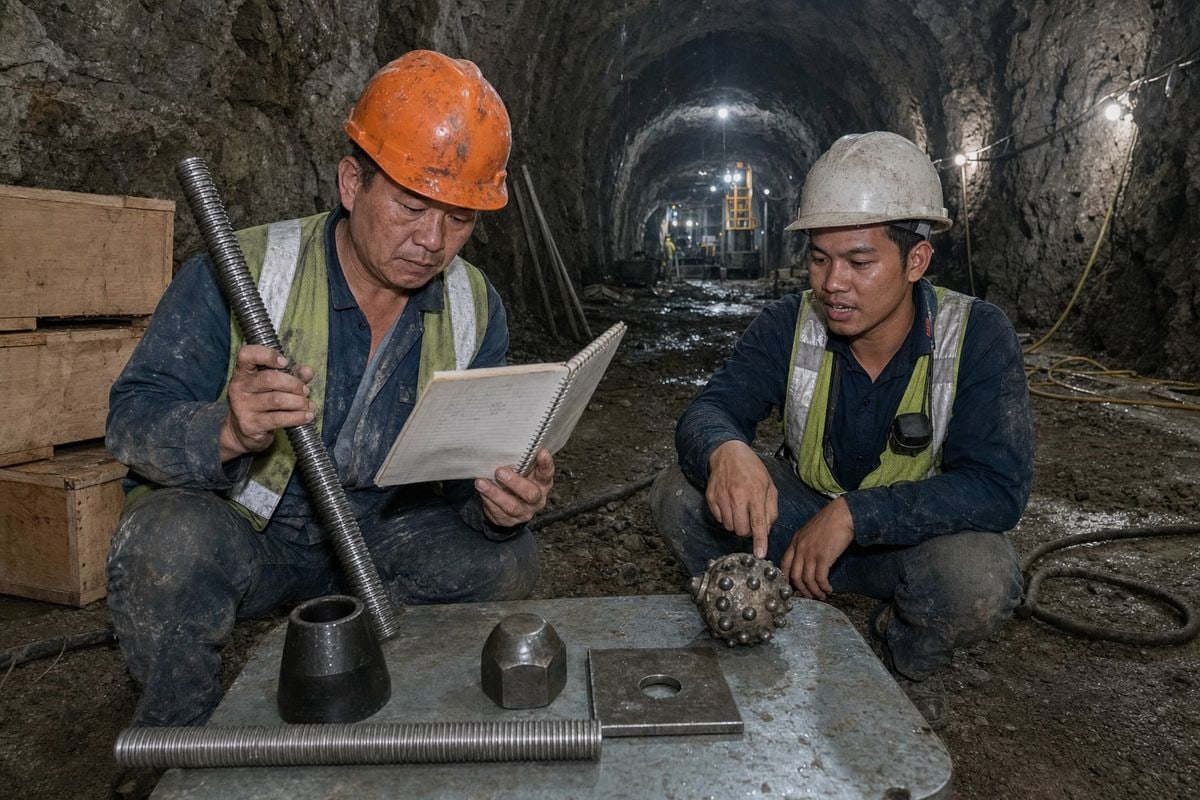
Choose drill bits for karst tunnels by matching bit type to the dominant ground condition: tungsten carbide button bits for hard limestone above 80 MPa, cross bits for medium fractured rock at 30–80 MPa, and clay or arch bits for soft, clay-filled dissolution zones below 30 MPa.
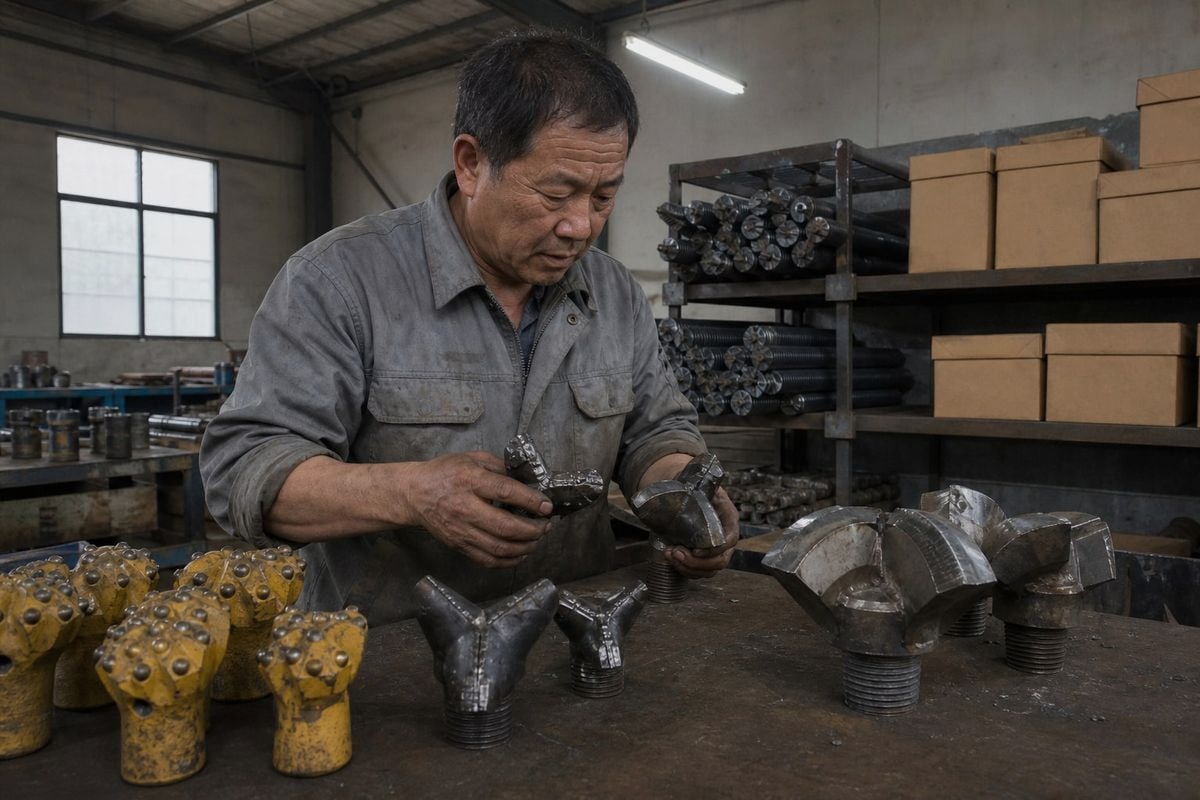
Karst geology is not one ground condition. It is many conditions stacked together. You can drill through competent limestone for two meters, then punch into a mud-filled cavity, then hit hard rock again. That is why bit selection must start with a proper site investigation, not a catalog page. Geological surveys and geotechnical testing tell you which condition dominates the anchor zone. Some projects now add geophysical methods like GPR to map voids before drilling, which helps you plan bit changes in advance.
Match the Bit Family to the Rock Mass
Here is the selection logic we share with our EPC contractor clients:
| Ground Condition | Typical UCS Range | Recommended Bit Type | Why It Works |
|---|---|---|---|
| Soft clay-filled voids, loose soil | Below 30 MPa | Clay bit, arch bit | Wide blades cut cohesive ground and keep the borehole open |
| Weathered or fractured limestone | 30–80 MPa | Cross bit, three-wing bit | Balanced cutting and flushing in broken rock |
| Hard, competent limestone | Above 80 MPa | Tungsten carbide button bit | Carbide buttons resist abrasion and impact |
| Mixed ground with boulders | Highly variable | Button or arch bit, chosen by dominant layer | Compromise design that survives sudden transitions |
Check Rig Compatibility Before You Order
A technically correct bit can still fail if your rig cannot drive it. Top-hammer rigs pair well with tungsten carbide bits for percussive drilling. tungsten carbide button bits 2 Rotary rigs suit cross and clay bits. We always ask clients for their rig specs before recommending anything, because torque and impact energy limits change the answer.
Do Not Forget Service Life
In tunnels, the bit is sacrificial. It stays in the hole with the hollow anchor bar. But it must survive the full drilling length. A bit that wears out at four meters on a six-meter anchor compromises both productivity and anchorage quality. Cost per meter drilled matters more than unit price.
What grouting pressure and volume parameters work best for filling karst cavities effectively?
When we calibrate grouting recommendations for water-rich strata, we always weigh one trade-off: higher pressure improves grout diffusion, but it also risks pushing grout straight into cavities.
Effective karst grouting typically uses cement grout at a 0.4–0.5 water-cement ratio and grouting pressure of 0.5–2 MPa, adjusted in real time. Use lower pressure near large voids to limit loss, higher controlled pressure in tight fissures, and monitor grout take continuously against expected volume.
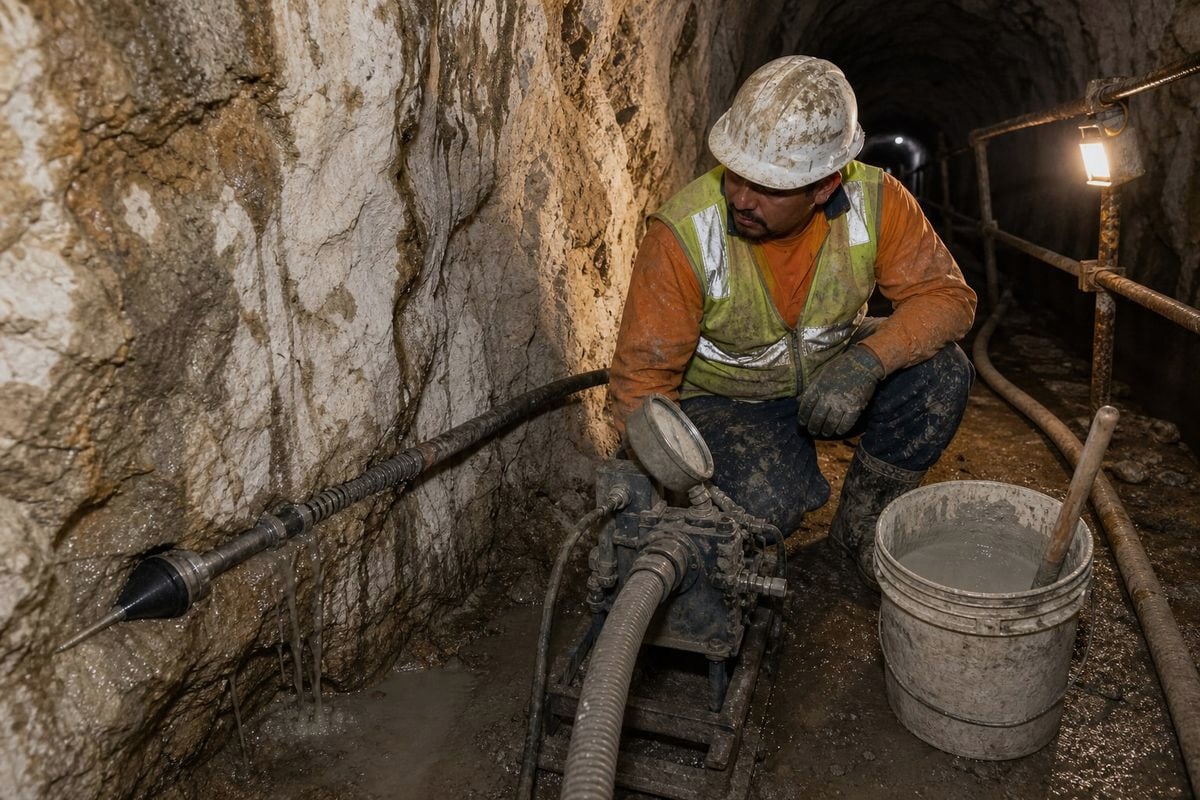
Grouting pressure is not a fixed number you set and forget. In karst, it is a live control variable. The published reference range of 0.5–2 MPa is a starting point, not a rule. Some specifications for fissure penetration cite lower working windows around 2–5 bar for gentle infiltration. The right value depends on what the formation tells you during injection.
Start With the Grout Mix
The water-cement ratio 3 controls almost everything downstream. A 0.4–0.5 ratio gives the cement grout enough strength for reliable bonding while staying pumpable through the hollow anchor bar. In granular or highly permeable zones, some crews start with a thinner 0.7–0.9 ratio flush to open the path, then switch to the structural mix. In water-bearing karst, dual-liquid grout such as cement plus water glass sets fast enough to resist washout.
| Condition | Water-Cement Ratio | Additives | Pressure Approach |
|---|---|---|---|
| Standard fractured limestone | 0.4–0.5 | None or expander | 0.5–1 MPa, steady |
| Water-rich karst channels | 0.4–0.5 dual-liquid | Water glass accelerator | Higher end, fast set |
| Fine fissures needing penetration | 0.5 | Plasticizer | Controlled 1–2 MPa |
| Large open voids | 0.4, thickened | Thixotropic modifier | Low pressure, staged |
Read Grout Take Like a Gauge
Volume tells a story. If grout take matches the theoretical borehole volume plus a modest overage, diffusion is normal. If consumption runs several times higher with no pressure buildup, grout is escaping into a cavity. That is your signal to pause, let the grout stiffen, and re-grout in stages. An adaptive strategy—adjusting viscosity and pressure based on formation response—wastes less material and builds better anchors than any fixed parameter sheet.
How can I prevent grout loss when drilling through karst formations with self-drilling anchor bolts?
Our engineers learned this lesson the hard way on a Southeast Asian tunnel order: the client reported anchors consuming triple the calculated grout volume with zero return at the collar.
Prevent grout loss in karst by using staged grouting with rest intervals, thickening the mix with thixotropic or expansive additives near voids, reducing grouting pressure when take spikes without pressure response, and re-grouting after initial set to seal connected cavities progressively.
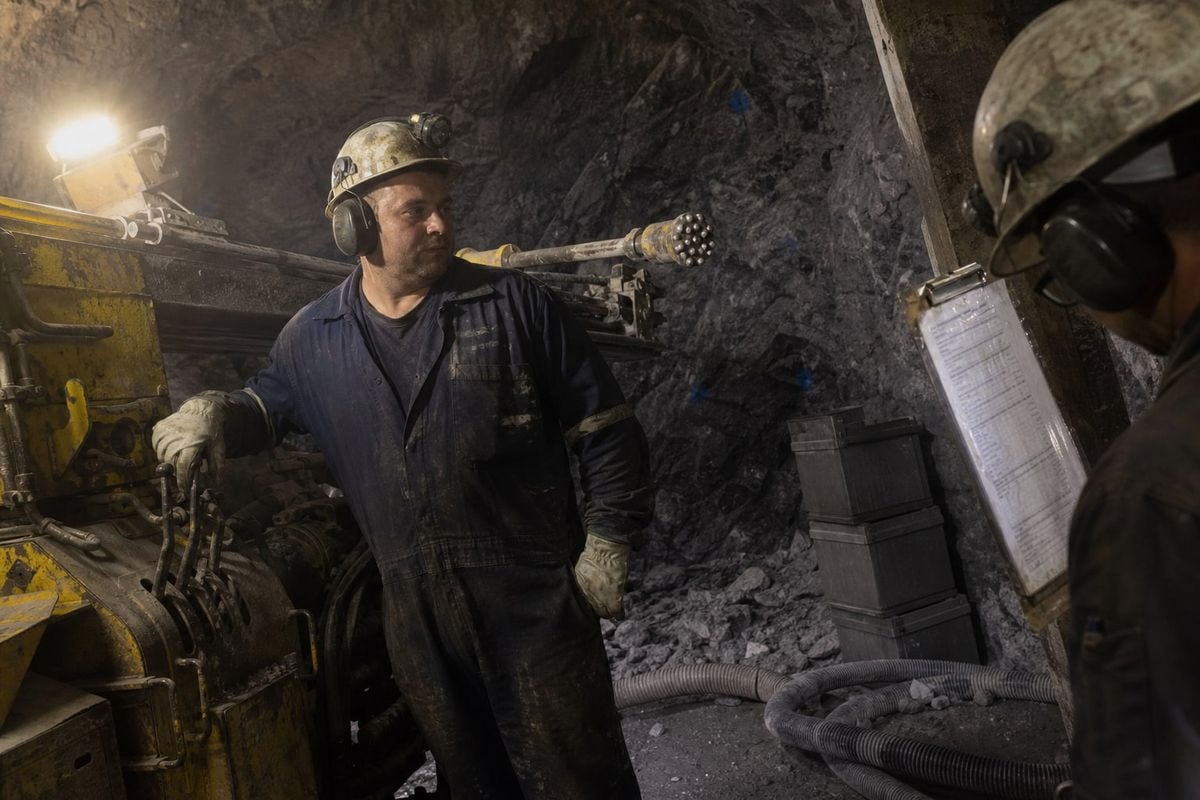
Grout loss is the defining problem of karst anchoring. Dissolution channels can connect your borehole to cavities meters away. Pump harder and you simply feed the cave faster. The solution is a disciplined field procedure, not brute force.
A Staged Grouting Procedure That Works
- Drill to depth and flush thoroughly. Clean cuttings from the borehole so grout contacts rock, not debris. Good flushing also reveals water inflows early.
- Inject the first stage at low pressure. Watch the gauge and the flow meter together. Rising pressure with steady flow means normal grout diffusion.
- Stop when take exceeds roughly twice theoretical volume with no pressure gain. Continuing only wastes cement grout into the void network.
- Wait for initial set. Thirty minutes to a few hours, depending on accelerator dosage. The first stage forms a plug at the void boundary.
- Re-grout through the hollow anchor bar. The second stage pressurizes against the plug and fills the annulus properly.
- Repeat if needed and record every stage. Consumption logs per anchor become your quality record and your early warning system.
Additives do heavy lifting here. Expansive agents compensate for shrinkage and lock grout into fissures. Thixotropic modifiers 4 keep grout flowing under pump pressure but make it stiffen when it stops moving, which is exactly the behavior you want at a cavity edge. In flowing groundwater, accelerators prevent the mix from washing away before it sets. One more advantage worth stating: because self-drilling systems drill and grout through the same hollow bar, the borehole never sits open and unsupported. In collapsing karst ground, that alone prevents the borehole stability failures that plague conventional two-pass anchors.
Which drill bit and grouting combination ensures reliable bonding strength in unstable karst rock conditions?
A procurement manager in the US once asked me a sharp question during a factory audit: why do we insist on pairing specific bit diameters with specific bar sizes? The answer defines bonding strength.
Reliable bonding in unstable karst comes from pairing a bit diameter that leaves a 15–20 mm grout annulus around the hollow anchor bar with a 0.4–0.5 water-cement ratio grout, staged pressure injection at 0.5–2 MPa, and verification through pull-out testing on sample anchors.
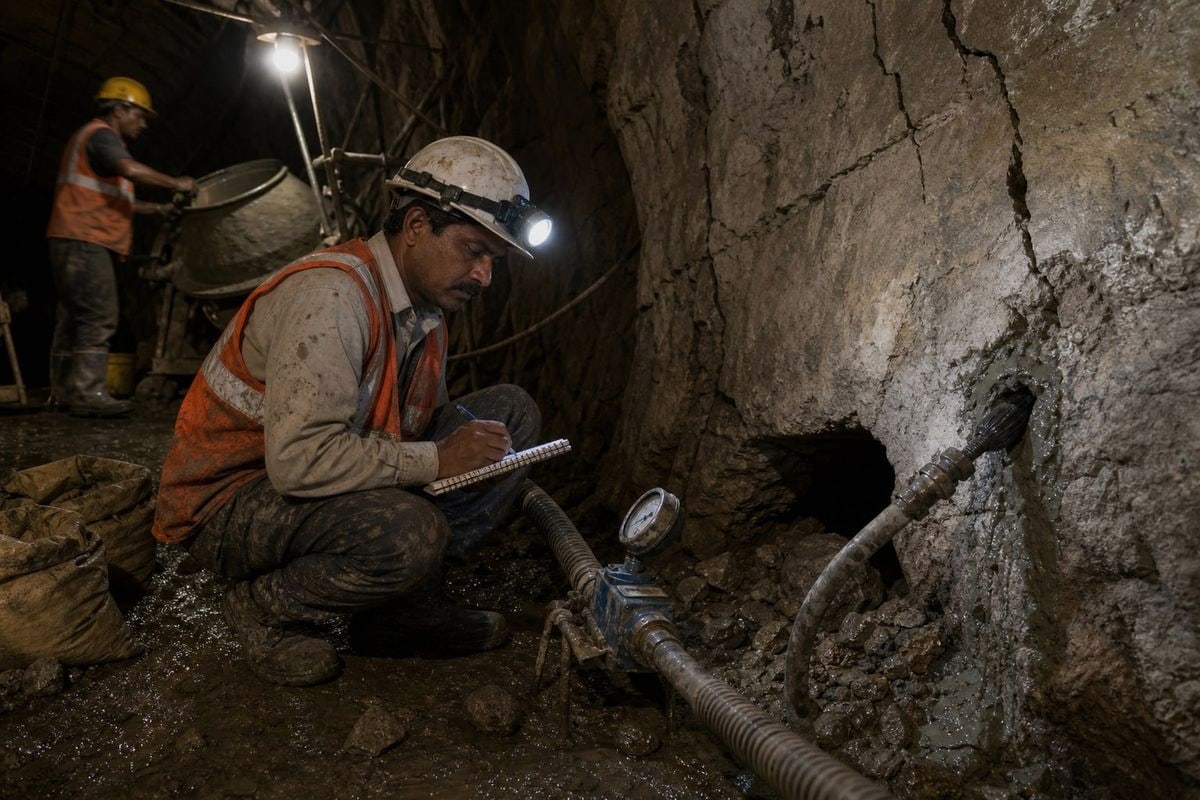
Bonding strength is a chain: bit creates the hole, grout fills the annulus, rock grips the grout. One weak link and the anchor underperforms. In our two decades supplying tunnel support systems, the failures we investigate almost always trace back to a mismatch between these elements, not to any single defective component.
Diameter: The Overlooked Decision
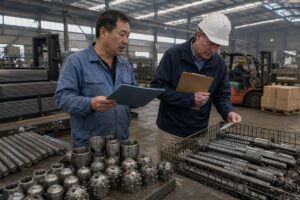
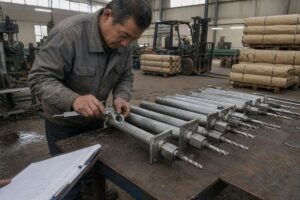
Bigger holes are not automatically better in karst. A larger bit improves grout coverage in broken rock, but it also raises torque demand, accelerates wear, increases grout volume per meter, and can connect more voids to your borehole. Tunnel specifications commonly cite self-drilling anchors from 32 mm bar diameter upward for temporary support, with minimum yield loads around 200 kN. Critically, if your anchor uses couplers to extend length, the bit must clear the coupler diameter, not just the bar. We check this on every order that leaves our Shandong facility, because a coupler jammed mid-hole in fractured ground is nearly unrecoverable.
Proven Combinations by Karst Condition
| Karst Condition | Bit Type & Sizing | Grout Setup | Verification |
|---|---|---|---|
| Fractured limestone, dry | Cross bit, bar + ~20 mm annulus | 0.4–0.5 W/C, single stage, ~1 MPa | Pull-out test, 1 per batch |
| Hard limestone with fissures | Tungsten carbide button bit | 0.5 W/C with plasticizer, 1–2 MPa | Pull-out plus grout log review |
| Water-bearing karst | Button bit, robust flushing | Dual-liquid cement–water glass | Fast-set check, pull-out test |
| Clay-filled voids | Clay/arch bit, larger diameter | Thickened mix, staged grouting | Re-grout records, increased test frequency |
Verify, Never Assume
Rock mass stabilization in karst cannot rely on grout take numbers alone. Pull-out testing 5 on representative anchors is the only direct proof that the bit-grout combination delivers design capacity. Some projects add non-destructive sonic testing to check grout integrity along the bar. Monitor drilling depth, grouting pressure, and consumption for every anchor, and test aggressively wherever conditions changed mid-drilling. Ground conditions in karst shift meter by meter, so your verification program should follow the geology, not the calendar.
Conclusion
Karst punishes guesswork. Match the bit to the dominant geology, size for coupler clearance, tune grout mix and pressure to void conditions, then verify every assumption with pull-out testing.
Footnotes
1. Provides a comprehensive overview of self-drilling anchor bolts. ↩︎
2. Describes the composition and use of tungsten carbide in drill bits. ↩︎
3. Provides a clear and comprehensive definition of the water-cement ratio and its impact on concrete properties. ↩︎
4. Defines thixotropic agents and their application in construction materials like grout. ↩︎
5. Provides information on the standard procedures for pull-out testing of anchors. ↩︎